


*My name is Dee Stastny, Dimples*N*Dewdrops Nursery. I have been asked by Jos Dolls to write a tutorial on reborning/newborning. I would like to state before I begin, that this is MY way of doing things, NOT THE ONLY way. Everyone has their own techniques, and I feel that there are many different ways to produce the same beautiful doll, it will be YOUR job to decide which way is best for you. So, with that said, here is ONE WAY of making reborn dolls.*
*With these wonderful Jos Dolls, all the prep work has been done for you. There is no hair to remove no factory paint, and no doll body to remove the parts from!*

Baby Doll Reborn Tutorial Part 1
To begin, I use the following items:
Genesis Heat Set Paints:
My palette consists of the following colors:
Pyrole Red 02 and 04
Flesh 08
Flesh 07
Flesh 06
White
Genesis Red
Dioxadine Purple 06
Phthalo Blue 05
Quinadridone Crimson 01
Diarylide Yellow
Yellow Ochre
Ultramarine Blue
Phthalo Green 05
Burnt Umber
Pyrole Orange 06
Matte Varnish
Glazing Gel
Thinning Gel
(These are my choice of colors, you may find some that work better for you.)
*Rubber Gloves*
*Turpenoid or any kind of ODORLESS thinner*
*Rags*
*Palette Knife*
*Glass palette*
*Brushes-I prefer synthetic bristles, but I do use some real hair bristles as well.*
*Cosmetic Sponges*
*Cotton Balls*
*Alcohol*
*Heat Gun*

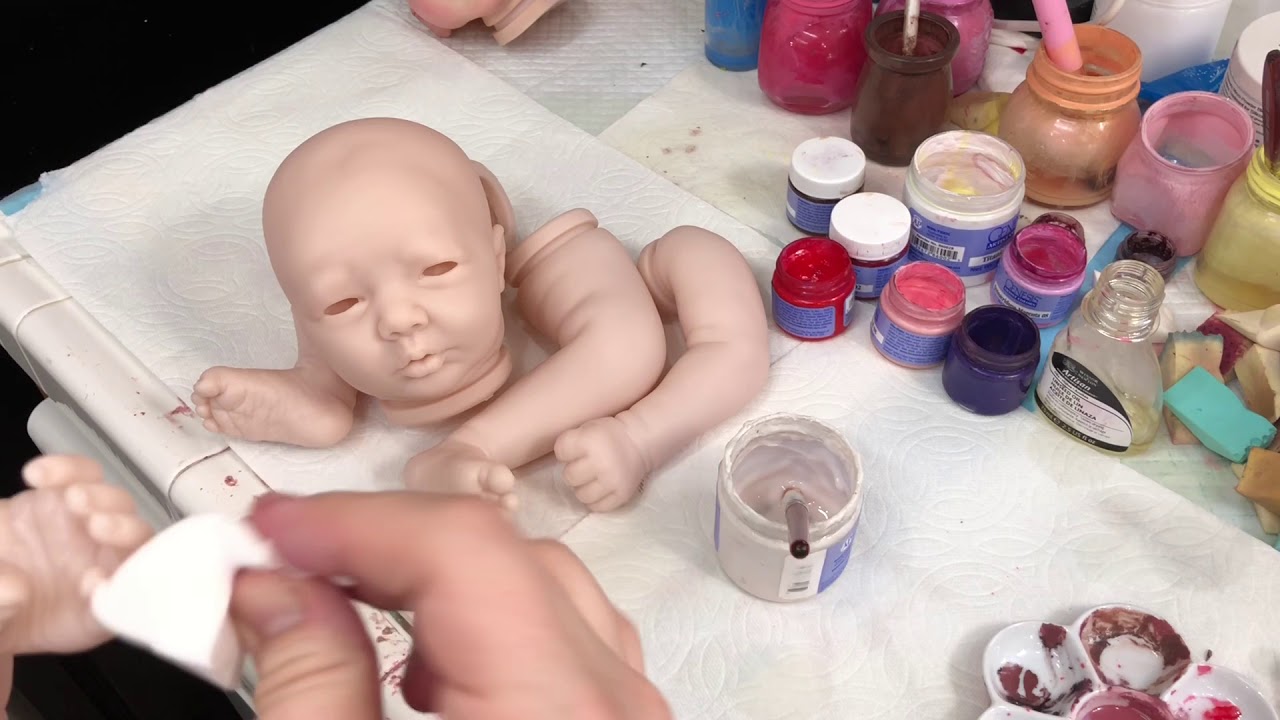
Now I am ready to begin.
I begin by washing all the pieces in dishwashing liquid. Dry them well and then wipe each piece down with alcohol. Now the fun begins! Applying the lifelike skin tones!
Reborn Tutorial Part 2
Applying Lifelike Skin Tones!
How I paint limbs
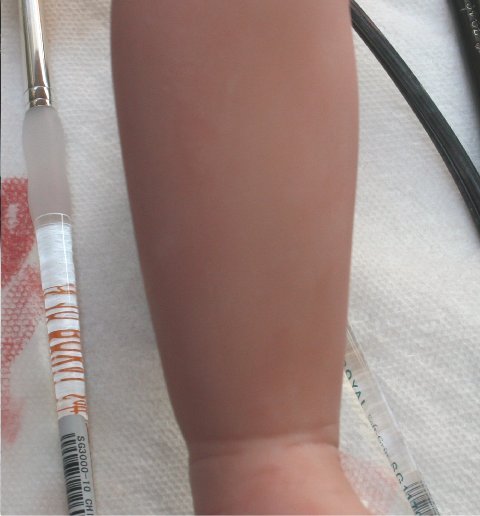
I begin painting the limbs with a base coat of flesh #7 . I mix it with the turpenoid until it is very very watery..much like milk. I then dab on some paint with a large brush and go over it with a makeup sponge, until I have the look I want, which is very smooth, but still shows some texture.
Next I add some blush tones to make the skin look mottled. This is done in much the same way with a color made up of pyrole red, genesis red, and a hint of brown. I do not cover the entire leg though, leaving some of the base coat to come through.
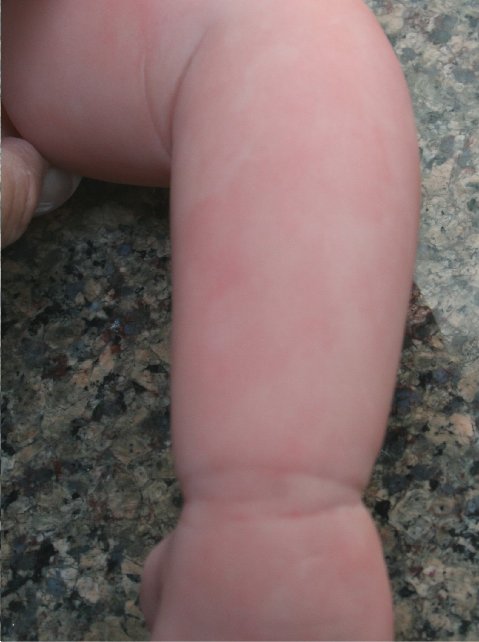
I repeat the two colors until I am happy with the skin texture and then start with the highlighting and shading. I will use the same color that I blushed with to add some shading to the creases..do not add too much. Then I will dab over them with a sponge to blend them in. I do this on all the creases on the leg and bottom of the foot. I will dry brush some darker color to the heel and the ball of the foot, as well as the toes and outer edge.
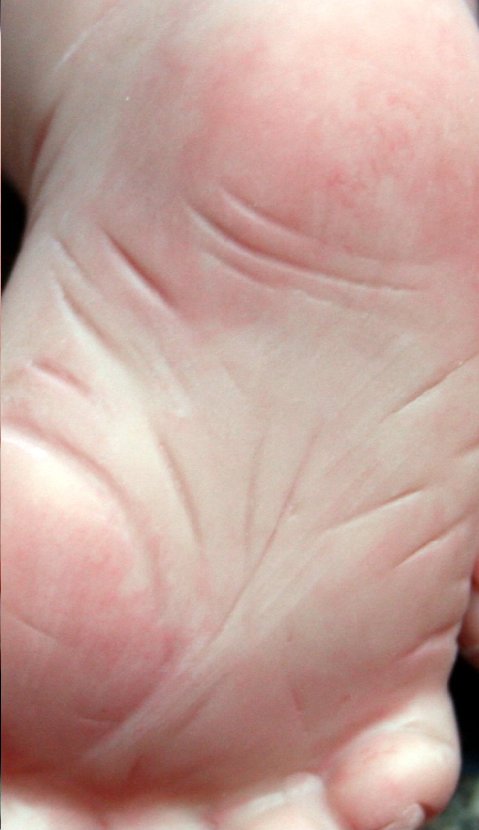
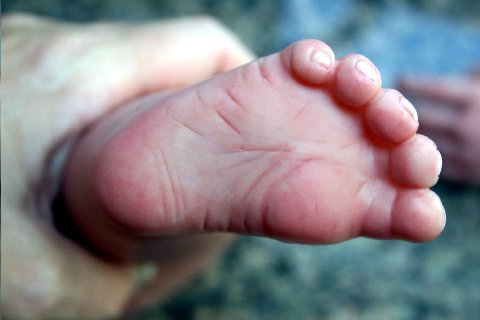
Next I add some veining to the bottom of the foot and ankle area using straight blue thinned down, but not as much as for the base painting (you can see the very faint veining in the above picture, in the center of the foot). When I am happy with all the coloring, I mix a final wash color of flesh #7 with just a hint of green and wash that over the entire leg, then blend with a mop brush. Add some off white to the nail beds and put a coat of genesis thinner on them, dry the limbs and your hands and feet are done!

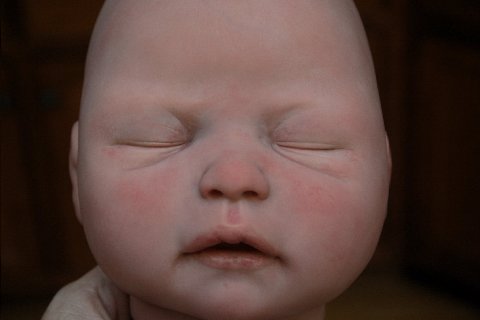
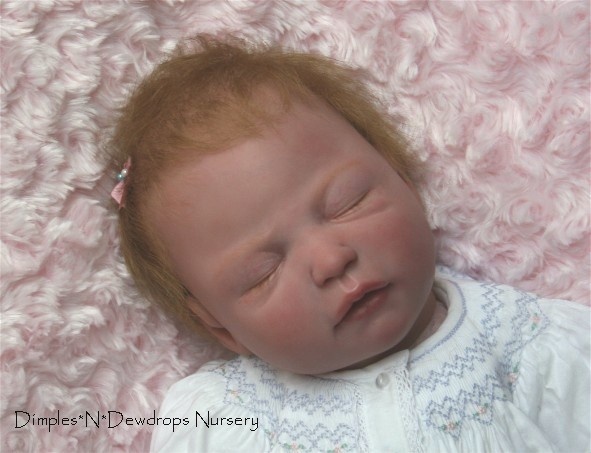
Okay, in this tutorial I will show you how I paint and highlight my babies faces. Each baby will get different colors depending on what look I am trying to achieve. On Ondrea, I wanted a peaches and cream complexion as she is an older looking baby.
I started mixing my base color which is flesh#7 with a hint of green. I dab this all over the face as I did with the limbs and then pounce with a cosmetic sponge to get the desired look I want. When I am happy, I use the genesis heat gun to set this layer. I then proceed to the pinker tones. I mix a color of flesh # 7, pyrole red # 2 and a hint of brown, giving me a red color..not too dark. I dab some of this color over the face in places I want highlighted and pounce with a cosmetic sponge. Next, I add some veining..on Ondrea there is one on the forehead..very faint. I don’t like too many veins on my babies..

I then added some shading to the eyes..this was done with a blue color in the corners and very faint between the eyes..dab this on and feather with a mop brush. Next some blue shading around the nose and upper lip and I do some on the bottom corners of the lower lip. Feather with a mop brush. I then add some darker blush shading to the outside corners of the nose and blend. Add some to the space between the nose and upper lip and blend as well.

I then dry this layer with the heat gun. I will then continue with the eyes and some gentle lavender on the lids..very little and very faint!! You don’t want it to look like eye shadow! Dry this and then proceed to the veins on the eyelids. They are very small and squiggly..I do this with straight genesis red..making sure that my brush has very little paint and use the smallest liner I have..draw veins on lid and dry. This will all be personal preference as to how many and how dark you want the veining to be. I tend to look at lots of baby pictures when I am doing my skin tones.
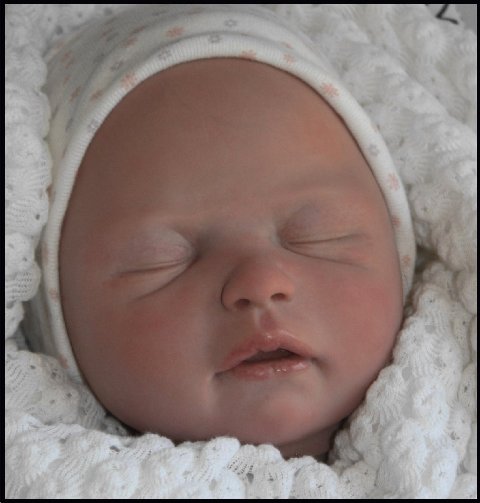
When I am happy with the eyes, I move on to the cheeks. I like to have the cheeks slightly mottled in my babies.
(right cheek)

I feel this adds texture and makes the skin look more real. I like to add little red veins to the cheeks as well, as most babies have them.

When I am happy with the cheeks, I move onto the mouth. I use a mixture of pyrole red # 2, ultramarine blue and sienna brown..very little blue and brown..just enough to give you a wonderful pinky mauve color. I thin this down and put it on in very thin layers until I get the color that I want. I will shade some areas to make them look darker as most lips have some uneven color in them. Once again, when you are happy with the color, dry them well with the heat gun and apply a coat of the genesis thinning medium to the lips and dry again.

I will add a little shading to the inner ears and a little blush on the outer edge and dry. When I am happy with the coloring on my baby, I will add my final coat of very thinned down flesh # 7 and a hint of green. I feel this helps to blend all the colors together and make them all look like one layer. Dry your baby for the amount of time indicated.
Here is the painted head. As this is an older baby, I didn’t do any blushing or specific birthmarks on the scalp, but that is also an option.
Reborn Tutorial Part 3
Micro Rooting
Supplies needed:
Felting needles, I use size 42
mohair, either alpaca or angora
glue to secure when done. I use E6000
conditioner
brush or comb
styling shears
I begin rooting by marking out the hairline on the head with a watercolor pencil close to the color of the hair I am using. When I am happy with the hairline, I start rooting at the crown. I will begin with the “swirl” and work about an inch.

When I have this started, I will go to the hairline in the front and begin to work across. I lay the mohair on the head perpendicular to the face and start pushing the needle in with it almost flat to the head. This will insure that the hair will lie flat. I continue to work across the hairline until the front is finished, making sure that I am putting the hair in the direction that normal hair would lay. Then, I will work my way back to the crown. I often will spray the hair with conditioner and comb to see where there are any spots that I may have missed. I also thin the hair as I go along.
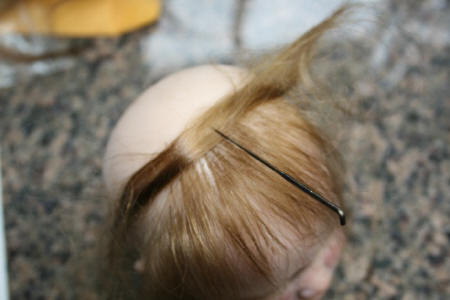
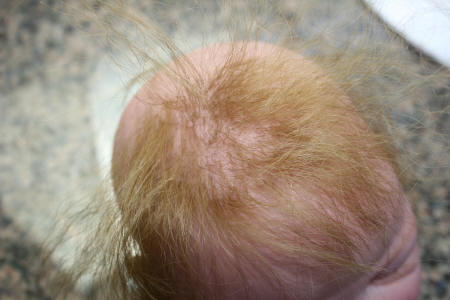
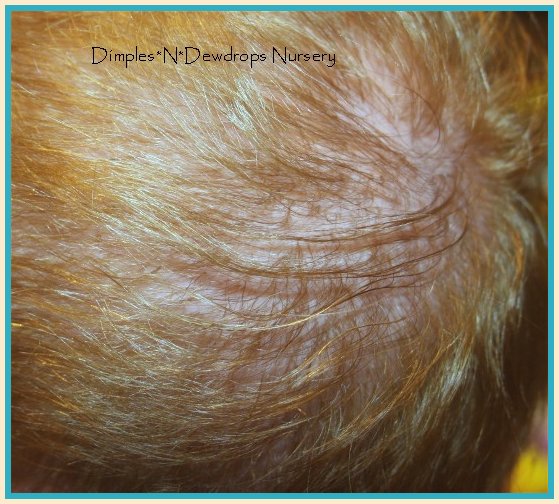
In the above picture, I have worked my way across the front and back towards the crown. You can see some thinner looking spots, these I will go back and fill in when I am done the whole head . I will make sure that as I go, there are only 1-2 hairs in each hole. Spraying with conditioner makes these areas show up better. I work my way around the head until I am happy. You can make the hair as thin as you want by pulling out some of the hair as you root. Then I will style the hair for the desired effect. Once this is done, I put some glue on the inside to secure the hair. This glue should be water proof and I have found that E6000 works best for me.
Just go slow and take your time and you will have a wonderful rooted head!


